Nikon Z In-Camera File Organization: Folders, File Naming, and Card Slots
Disclosure: This post may contain affiliate links. I earn a small commission of product sales to keep this website going.
Nikon Z cameras offer a surprising amount of control over how your photos are organized right on the memory card with custom folders, custom file naming, and dual-slot recording options. Used thoughtfully, these tools can simplify your workflow. Used carelessly, they can create more administrative headaches than they solve. Here's a breakdown of each tool and when/how you might want to use it.

Custom Folders
When you pull a memory card and open it on your computer, you'll see folders with a three-digit number prefix followed by a five-character suffix. Both are customizable. You'll find all of this under Photo Shooting Menu > Storage Folder, which gives you three options: Rename, Select Folder by Number, and Select Folder from List.
When custom folders are worth the effort
For most hobbyists and general photographers, the default folder structure works fine. But there are some situations where custom folders can help:
- Travel: Create a new numbered folder for each day of a trip. All your photos from Day 1 go into one folder, Day 2 into another, and so on. This makes playback and review easier without having to dig through thousands of mixed images.
- Event photography: A wedding photographer might want separate folders for the rehearsal, the ceremony, and the reception, as one example. Set them up ahead of time and switch folders at each transition.
- Time-lapse: If you use the camera's built-in interval timer function, it can automatically create a new folder for each sequence.
Setting up custom folders
Go to Rename and use the keypad to set a five-character suffix that'll be added to all new folders. For an Africa trip, for example, you might use "AFRIC". Now every new folder created during that trip will carry that identifier.
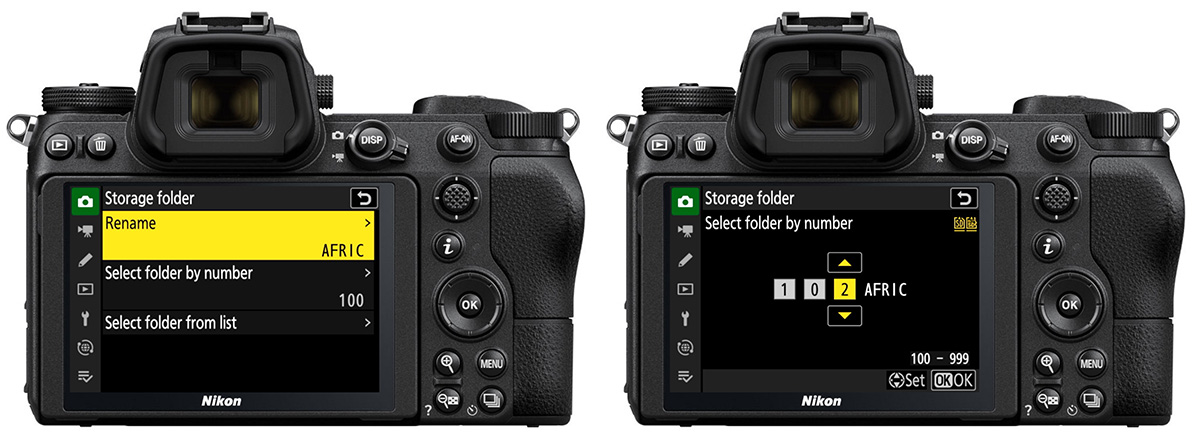
Then use Select Folder by Number to create new numbered folders with the arrow keys, pressing OK to create each one. The newly selected folder becomes the active recording destination.
To switch back to a previously created folder, Select Folder from List is the easiest approach. You can see all your folders, preview their contents by pressing the zoom-out button, and select the folder you want to be "active."
A few things to know: each folder can hold up to 5,000 images. Once a folder fills up, the camera automatically creates a new sequential folder. A new folder is also created automatically if the image sequence number reaches 9999.
File Naming
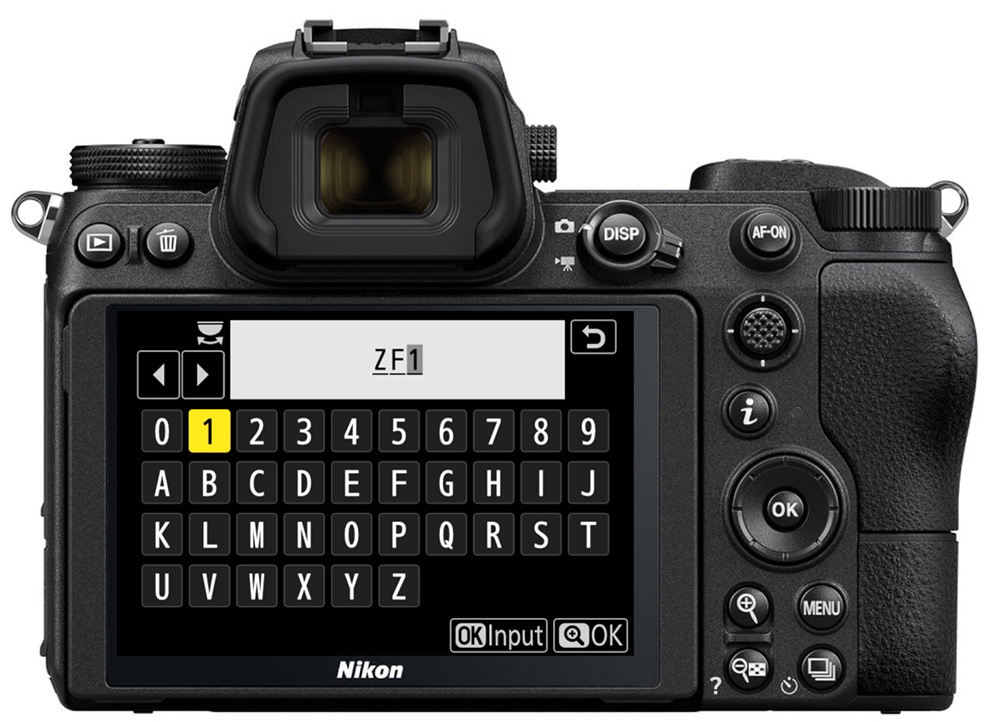
Every photo gets a filename consisting of a three-character prefix followed by a four-digit sequence number. This looks like DSC_0001, DSC_0002, and so on (sRGB and HLG files use an underscore after the prefix; Adobe RGB files place it before). You can change the prefix under Photo Shooting Menu > File Naming.
When to change it
If you're using only one camera - like most photographers - just rename files in Lightroom, Capture One, or Photo Mechanic as part of your post-processing workflow. There's no need to touch this setting.
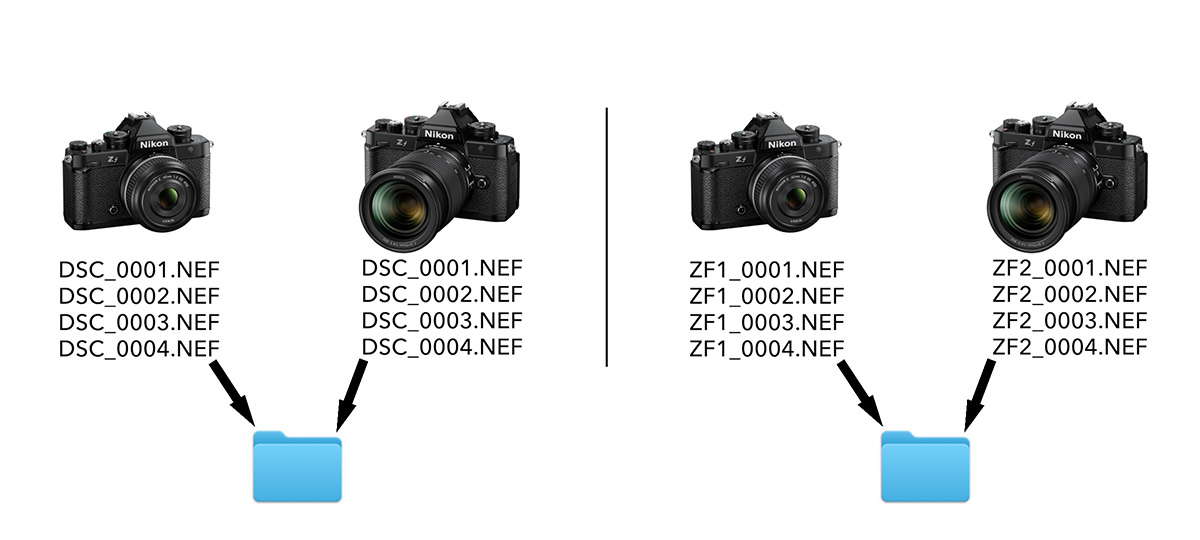
The most practical use case is if you're using multiple cameras. If you shoot with two Nikon Zf bodies and dump both cards into the same folder before culling, you'll end up with duplicate filenames. You'll have two files named DSC_0001, which causes conflicts in your operating system. Renaming one camera's prefix to "ZF1" and the other to "ZF2" eliminates that problem. All photos land in one folder in chronological order, ready to cull without conflicts.
The same logic applies to multi-photographer event work. Make sure every photographer/camera has a unique prefix before the event starts.
File Number Sequence
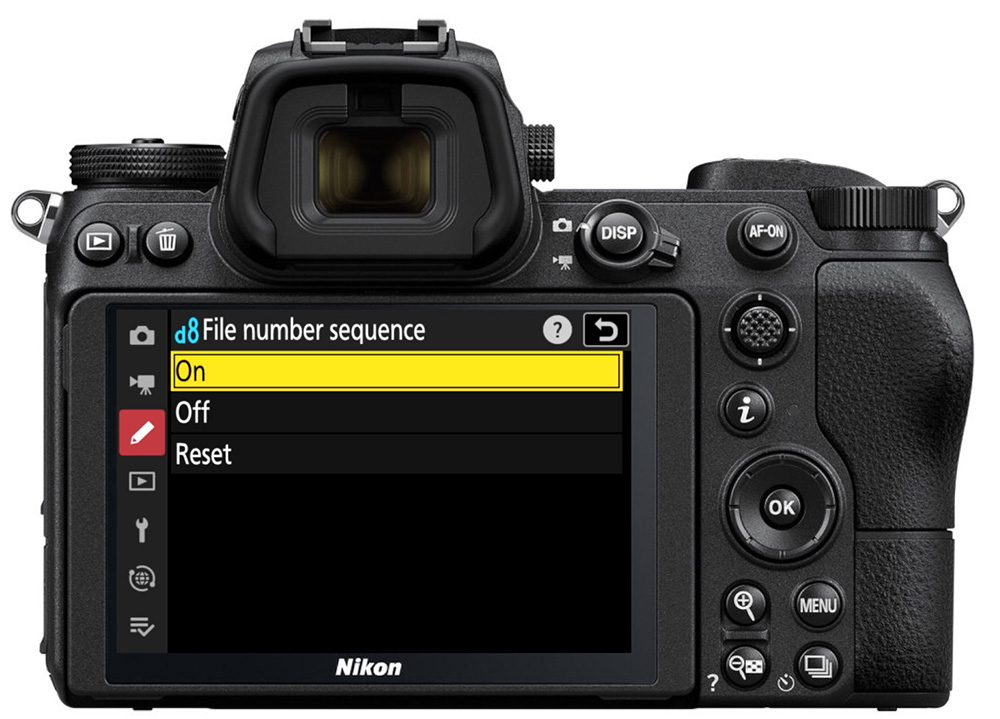
Found in Custom Settings > d Group > File Number Sequence, this setting controls whether the image sequence number resets to 0001 when you start a new folder or insert a new memory card.
- On: The sequence continues from where it left off, regardless of folder or card changes. If your last photo was DSC_1022, the next one will be DSC_1023.
- Off: The sequence resets to 0001 with each new folder or card.
- Reset: Manually forces a reset to 0001.
Leaving this On is my preference to simplify organization. It prevents multiple files with the same number from appearing across different folders or cards during the same outing, which keeps things cleaner when culling.
Dual Card Slot Options
If your camera has two card slots, you'll see options in the menu labeled either Role Played by Card in Slot 2 (Z5, Z9) or Primary Slot Selection/Secondary Slot Function, depending on your model. The options are the same:
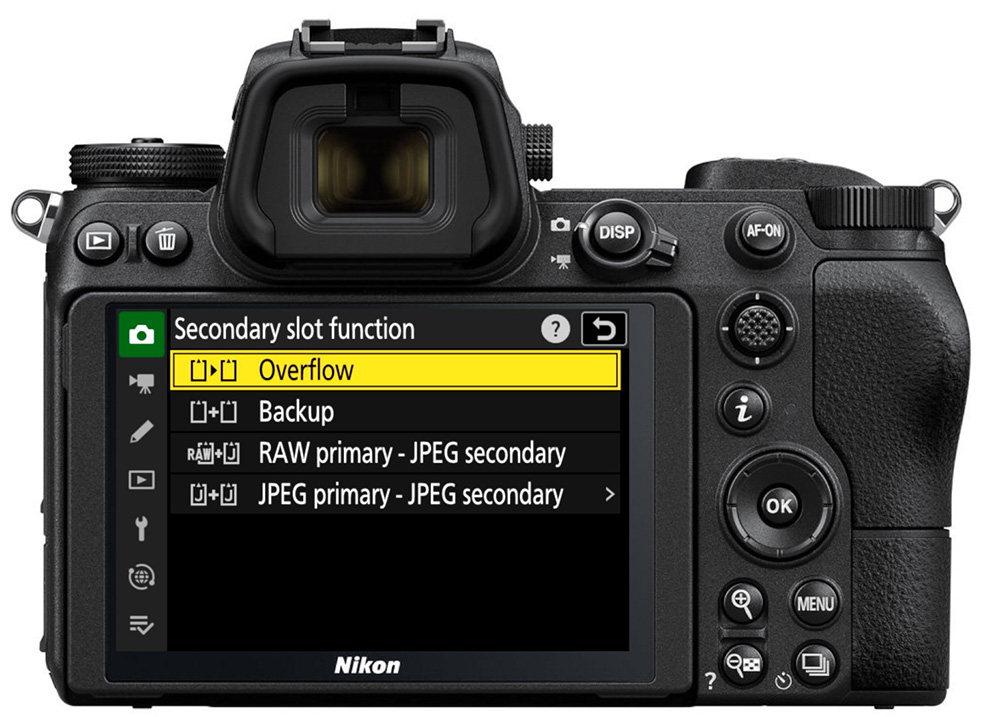
Overflow: All files are recorded to the primary card until it fills up, then recording switches to the secondary card. This is a good choice for most personal and hobbyist shooting and can maximize storage availability. Memory cards are so reliable now that backups are unnecessary for most personal work.
Backup: Every file is simultaneously written to both cards, creating a real-time clone. If one card fails, you have an identical copy on the other. This is the best choice for any paid or commissioned work where losing images has professional or financial consequences.
RAW Primary - JPEG Secondary: RAW files go to the primary card, JPEGs to the secondary. Useful for event and photojournalism workflows where someone needs to pull ready-to-use JPEGs immediately. A second shooter or social media manager can grab the JPEG card while you keep shooting, without having to deal with RAW files mixed in.
JPEG Primary - JPEG Secondary: Both cards record JPEGs, but the secondary card gets a smaller, lower-quality version. A holdover from wire service workflows where you'd hand off a secondary card with transmittable-sized files while keeping your full-quality originals on the primary.
Note: if you're shooting in HLG format (producing HEIF files rather than JPEGs), the JPEG slot in these configurations will be replaced by HEIF.
A Few Other Settings Worth Knowing
Copyright Info (Setup Menu): Enter your name or company once, and the camera embeds it in the metadata of every photo you take. Set it and forget it. There's no reason not to do this.
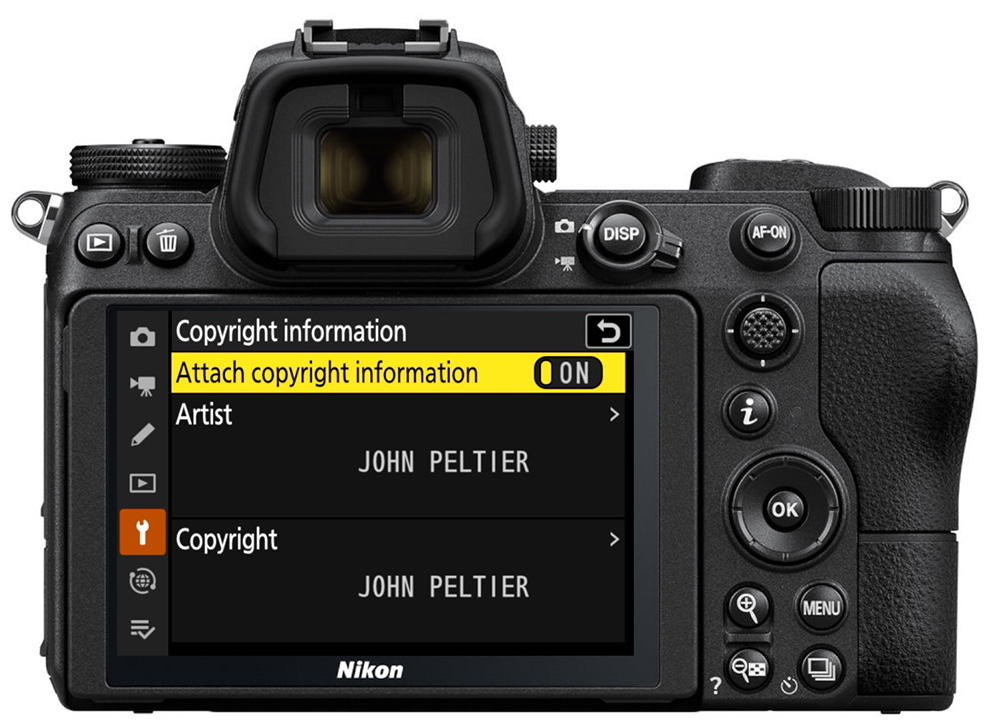
Image Comment (Setup Menu): Lets you attach a 36-character comment to every photo's metadata. Only worth using if you're disciplined enough to keep it current. Incorrect metadata is worse than no metadata.
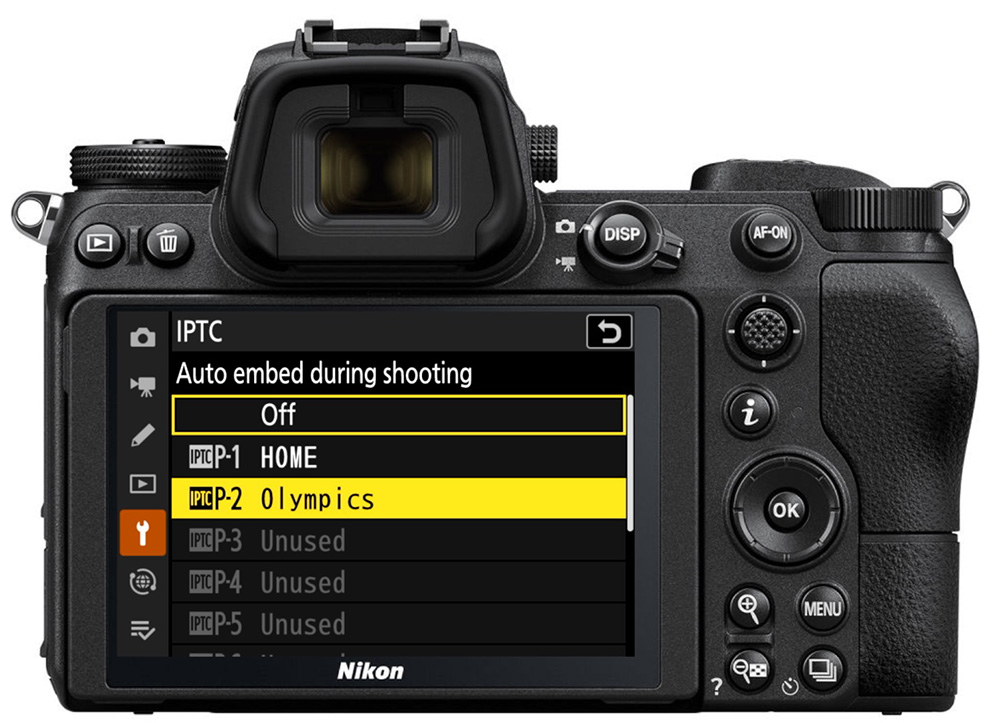
IPTC Fields (newer cameras, Setup Menu): Lets you attach structured metadata, like headline, event ID, caption, location, and so on, using presets created in Nikon's IPTC Preset Manager or in the camera. You can store up to 10 presets. This can be useful for photojournalists sending cards directly to editors, but for everyone else, adding this information in Lightroom Classic or Photo Mechanic during post-processing is more practical and an easier workflow.
The Short Version
For most photographers, the defaults are fine, and simpler is better. The settings worth paying attention to:
- Multiple cameras shooting together? Customize file naming prefixes on each body before the shoot.
- Organized travel or event shooting? Custom folders are worth the small setup effort.
- Paid work? Switch your dual-card setting to Backup.
- Copyright info? Fill it in once and leave it.
Everything else can stay at the default unless you have a specific workflow reason to change it.
Want a complete walkthrough of all Nikon Z menus, focus systems, exposure modes, and camera customization? The Nikon Z Photography Fundamentals course covers it all with video lessons, text outlines, assignments, and downloads. Use code BLOG20 for 20% off.