How to Set Up and Use Back-Button Focus on the Nikon Zf
Disclosure: This post may contain affiliate links. I earn a small commission of product sales to keep this website going.
Back-button focus is one of those techniques that initially feels awkward and requires a lot of practice, but once you start using it, it's hard to go back to the "old" method of shooting. Here's what it is, why it's worth using, and how to set it up on the Nikon Zf.

What Is Back Button Focus?
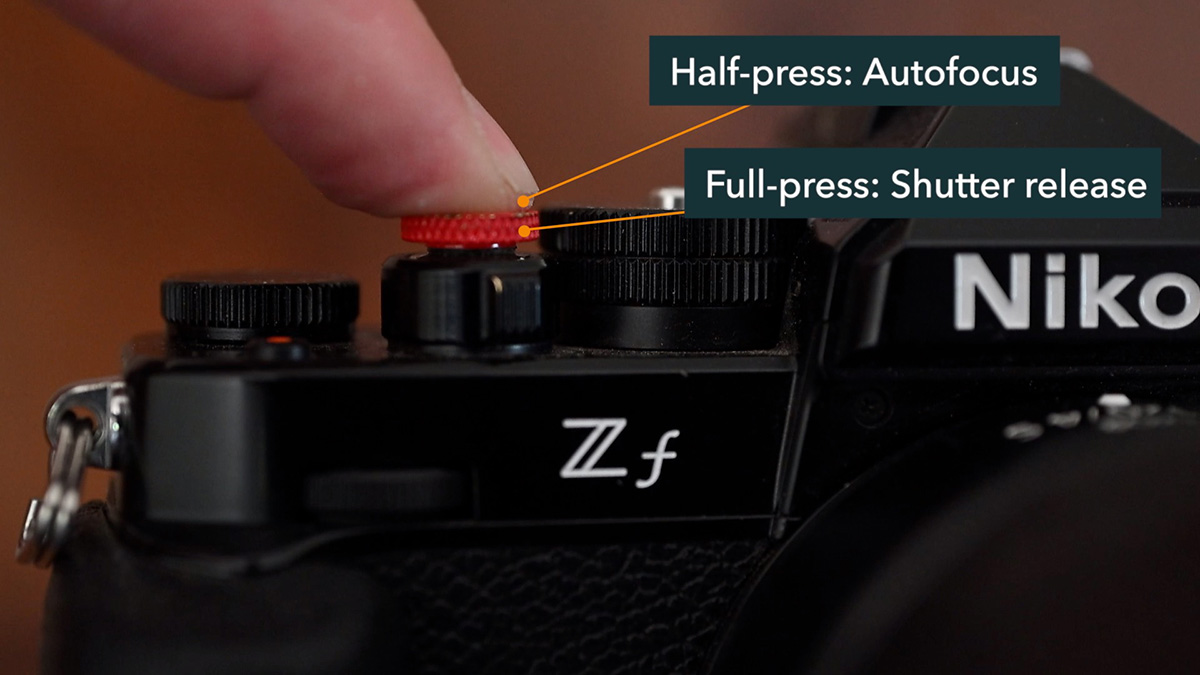
By default, the Zf's shutter button does two things: half-press to focus, full press to shoot. The problem is that those two functions are tied together. You can't take a picture without passing through an autofocus command every time, and that's not always desirable.
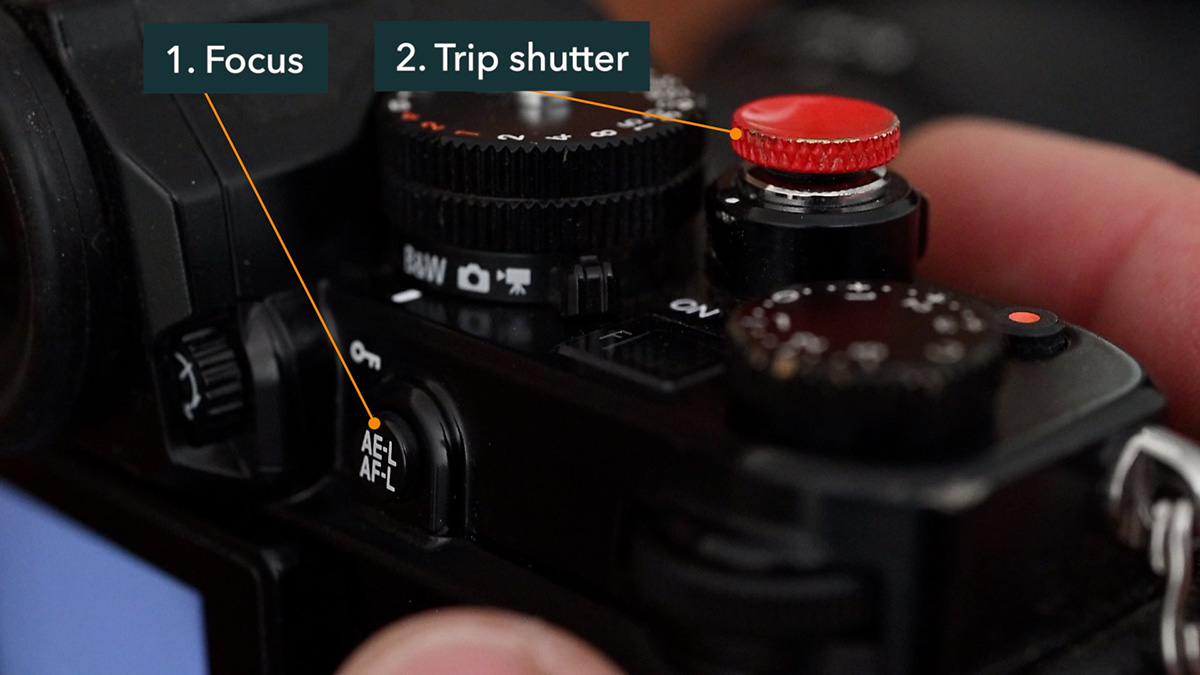
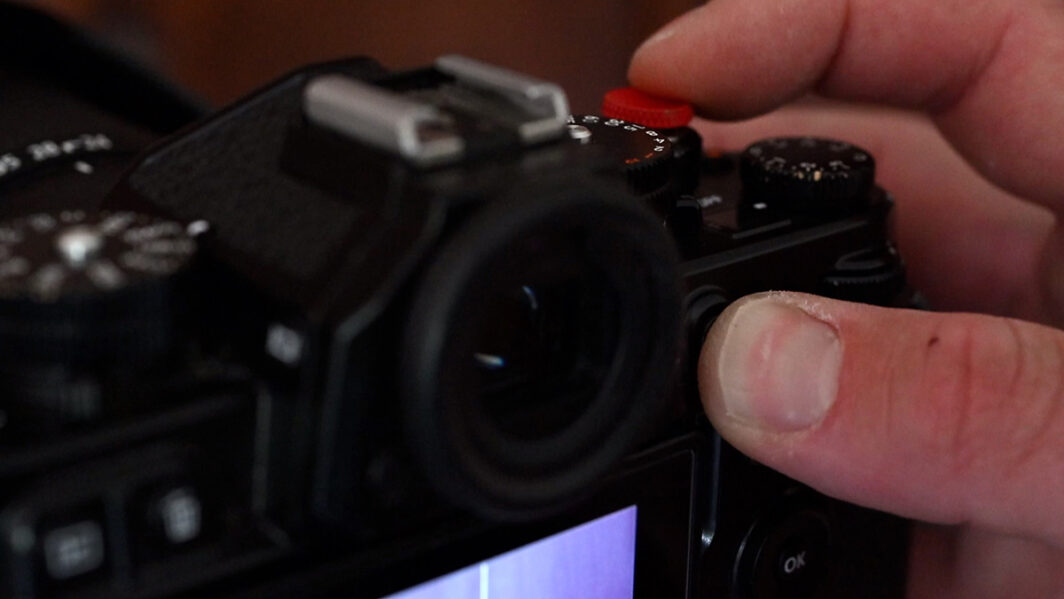
Back-button focus separates them. The shutter button only takes the picture. Autofocus is handled by the AE-L AF-L button on the back of the camera, operated with your thumb. You focus when you want to focus and shoot when you want to shoot. You don't need to do both at the same time.
Why Use It?
The most practical benefit is the focus-and-recompose technique. Rather than moving your focus point around the frame to wherever your subject is, you can leave it centered, point it at your subject, press the back button to lock focus, recompose, and shoot, all without autofocus re-engaging when you press the shutter.
Once the focus is locked, you can take as many shots as you want without the camera refocusing between them. When you change your distance to the subject, your aperture, or your focal length, then you'll need to press the back button again. Otherwise, just shoot.
It's also useful any time you've worked hard for a precise focus lock, such as in low light, with a shallow depth of field, or exact placement. You don't need to worry about that every time you press the shutter.
How to Set It Up on the Nikon Zf
Step 1: Disable autofocus from the shutter button
Go to Custom Settings Menu > a (Focus) > a6: AF Activation.
The default is Shutter/AF-ON, meaning either the shutter or the button assigned to the AF-ON function can trigger autofocus. Change this to AF-ON Only. Press the right arrow and leave Out-of-Focus Release enabled. This lets you press the shutter whenever you want, regardless of focus status. Back out to save. You should see Off displayed next to a6.

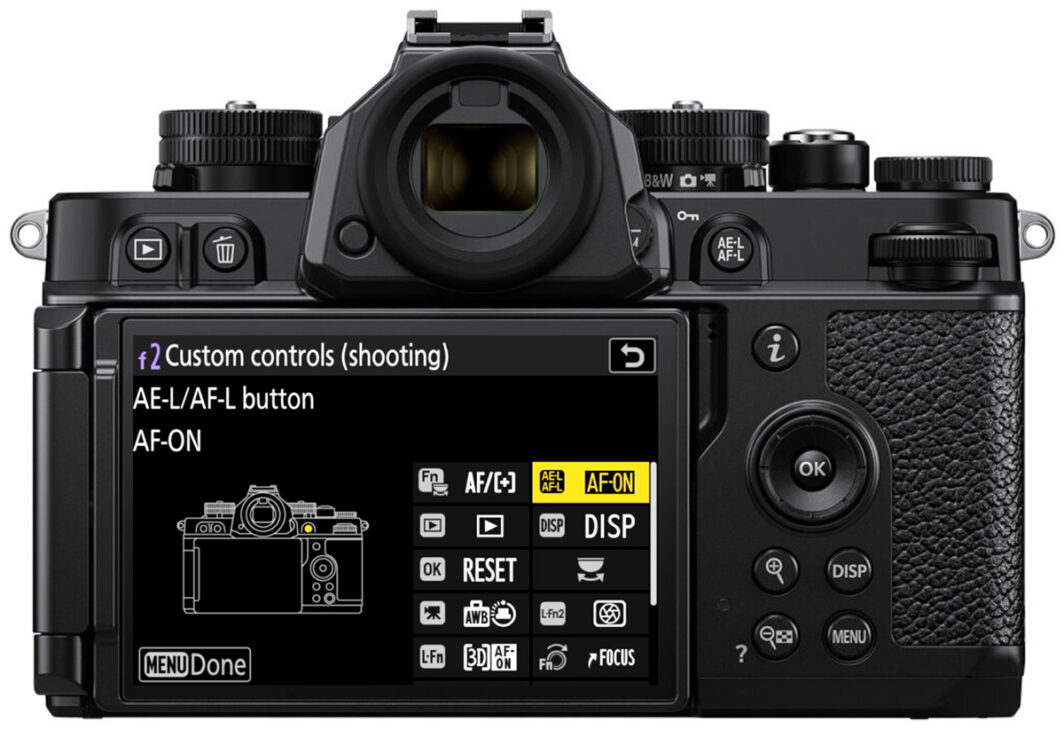
Step 2: Confirm the AE-L/AF-L button is set to AF-ON
Go to Custom Settings Menu > f (Controls) > f2: Custom Controls, then highlight AE-L AF-L and press OK.
You're looking for AF-ON, not AF Lock. AF Lock simply holds focus at its current position without commanding autofocus, which isn't what you want here. With AF-ON selected, pressing the AE-L/AF-L button will actively command autofocus. Press OK to confirm.
That's it. Your Nikon Zf is now set up for back-button focus.
How to Use It
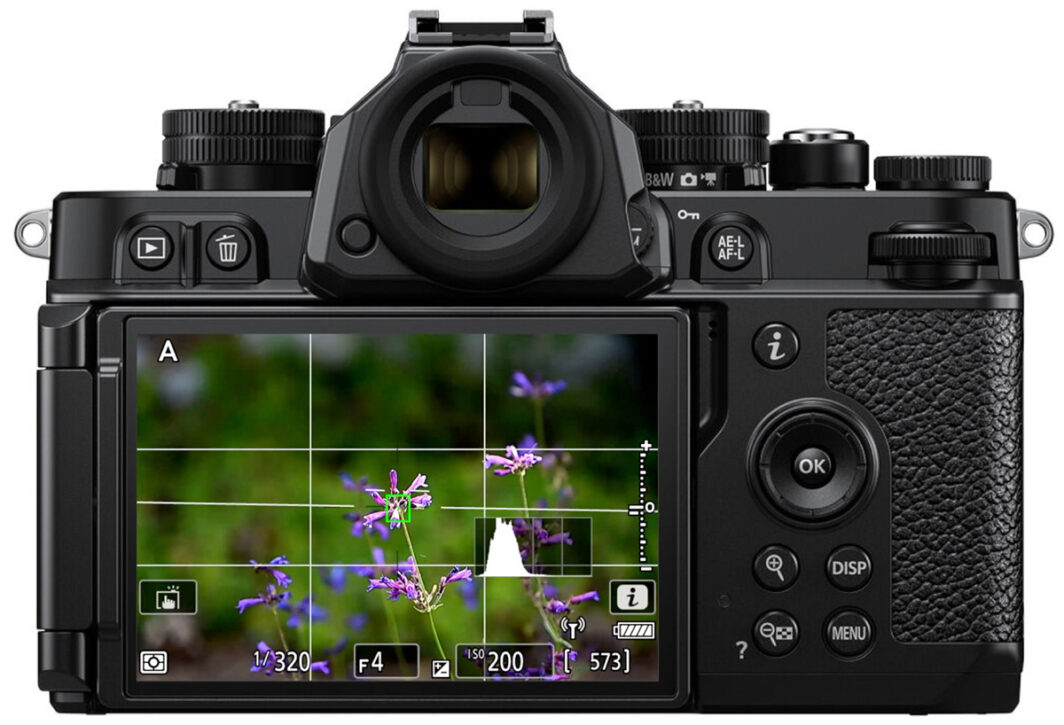
In AF-S (single autofocus): Place your focus area over your subject, press and hold the AE-L/AF-L button until the focus area turns green (confirming a lock), then release. Focus is now set at that distance. Press the shutter to shoot whenever you're ready. Autofocus won't re-engage, and you can recompose freely. Press the back button again only if your distance, aperture, or focal length changes.
In AF-C (continuous autofocus): Keep your thumb held down on the AE-L/AF-L button while tracking your subject. Your index finger handles the shutter independently. When the moment is right, press the shutter while holding down the back button. Release your thumb when you're done tracking.
In video with full-time autofocus (AF-F): Pressing the AE-L/AF-L button temporarily overrides full-time autofocus and pauses it at the current focus position. This is useful when you want to hold focus on a specific point without the camera hunting. If you're shooting video, you'll need to confirm the control setup in the custom settings g2 menu.
Practice!
Back-button focus requires new muscle memory, and the first few outings will feel unnatural. The most common early mistake is forgetting to press the back button, resulting in out-of-focus photos. It happens to everyone. Just keep at it. After a few dedicated practice outings, most photographers find it hard to go back to the default setup. And if it genuinely doesn't suit your style after giving it a real try, the original setup is just a couple of menu steps away.
For a full walkthrough of using your Nikon Zf, check out my Nikon Zf tutorial course here (20% off with code "blog20").