Disclosure: This post may contain affiliate links. I earn a small commission of product sales to keep this website going.
John Muir Trail Planning & Photos
America’s most scenic trail, 211 miles from Yosemite National Park to Mount Whitney.
Keep close to Nature’s heart … and break clear away, once in a while, and climb a mountain or spend a week in the woods. Wash your spirit clean. – John Muir
Contents:

Low clouds over the eastern Sierras at sunrise, looking south from Mt. Whitney. Mile 210.
John Muir Trail Permits
The nice thing about reserving John Muir Trail permits is that this $10 permit is all-inclusive; it covers Yosemite National Park, Ansel Adams Wilderness, John Muir Wilderness, Kings-Sequoia Wilderness (Kings Canyon NP & Sequoia NP), and Mt. Whitney.
Quotas
The National Park Service has recently changed the quota to better manage the human impact of these wilderness areas. Now, 45 people are limited to exiting Yosemite National Park through Donahue Pass each day. Twenty of these permits start at the northern terminus in Happy Isles while the other 25 start at Lyell Canyon near Tuolumne Meadows. Only 10 of these permits, from Lyell Canyon, are reserved for walk-ins.
Applying
You may apply for your John Muir Trail permit 24 weeks in advance, and they go fast! Apply as early as you can.
That being said, I had to change my permit date to sync up with the rest of the group I was going with – they were able to change their date but I wasn’t. My plan was to arrive at the Tuolumne Meadows Wilderness Permit Station a few days ahead of time and wait in line early morning to snag one of the ten walk-in permits.
A few days before leaving, I called the permit station (209-372-0740) to see if there were any cancellations around the date I wanted to leave. There was! I was able to reserve this date.
When I arrived at the permit station early in the morning to pick up my permit, only two people were in line to get walk-in permits. I don’t know if this is representative of most days, but there were plenty of walk-in permits available for the day I was leaving.
You may submit your permit request via Phone, Fax, or Mail, but the park prefers Fax. Make sure you check “Exit Yosemite NP at Donahue” and note your exit trailhead as Whitney Portal if you wish to climb Mt. Whitney.
I did get “permit-checked” twice in Yosemite and once in Kings Canyon NP. Don’t try to poach the trail.
You can view more information about John Muir Trail permits at this link: http://www.nps.gov/yose/planyourvisit/jmtfaq.htm.
Jump to: Permits | Food | Gear | Navigation | Photography

Wales Lake and the Eastern Sierras from Mt. Whitney. Mile 210.
Food Resupply on the John Muir Trail
I didn’t have too much and I never went hungry! Though I still lost 15 pounds…
I planned all my food around getting about 2500-3000 calories per day, based on my observations from previous hiking trips and anticipated daily mileage. This may be different for you. I also brought foods that had a high caloric density, that is to say the most calories for the least weight.
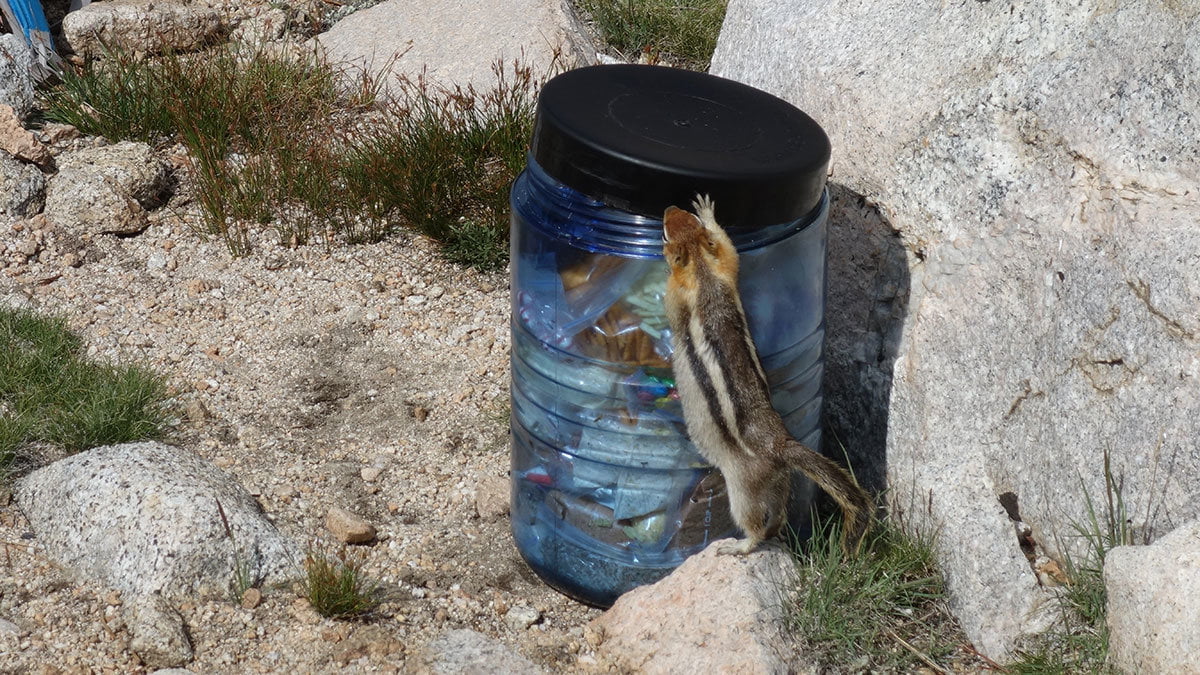
A Golden Mantled Ground Squirrel doing what it knows best. Photo courtesy Rick Swan.
Bear Cans!
Bear canisters are required in almost all areas, so if you don’t have one you better get it. The BearVault BV500 is a lightweight, sturdy canister. It’s advertised as holding seven days of food but that’s probably closer to six for most people. I found that these canisters are less about the bears and more about the marmots and squirrels. Those little rodents have a lot of practice at stealing food!
You probably won’t want to carry more than six days of food while hiking the John Muir Trail (that’s about ten pounds depending what you’re eating) so plan your John Muir Trail resupply around how many days you have to complete the trail. Make your resupply pickups between 4-6 days apart.
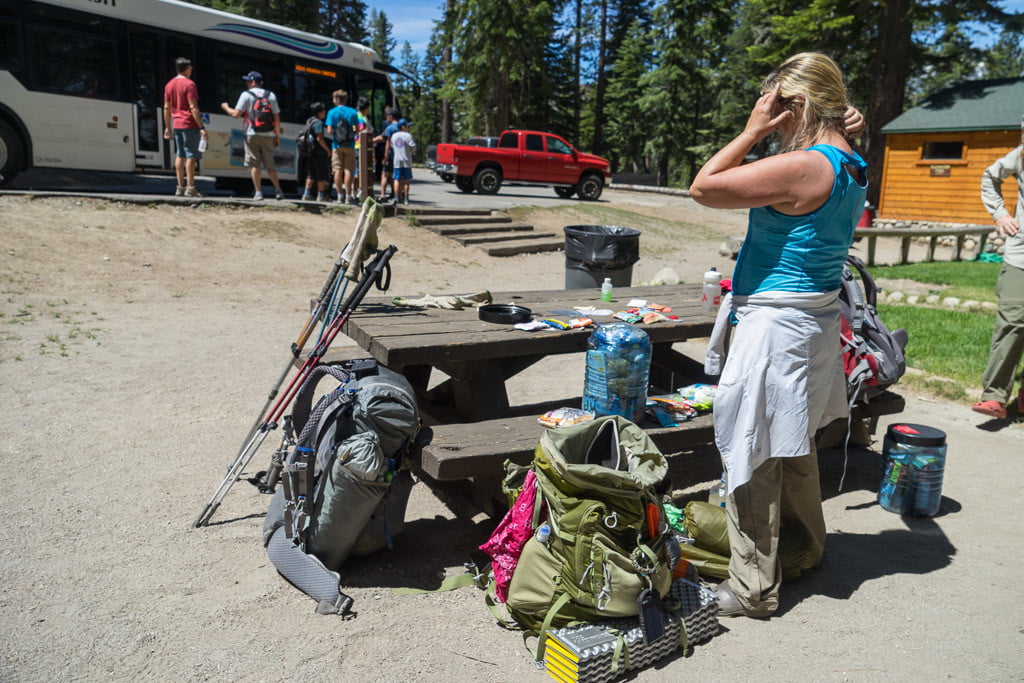
Trying to fit everything into a bear canister at the Reds Meadow resupply.
Timing Resupplies
Our first resupply was at Red’s Meadow (Mile 60) near Mammoth. We had a friend deliver our resupply to us, but the resort at Red’s Meadow can also hold your resupply for you, for a fee. They also have a cafe and general store. See redsmeadow.com/resort/backpackers for more information.
Our second resupply was at Muir Trail Ranch (Mile 106). This is a remote ranch with specific instructions for packing your food, because it will be shipped to a nearby post office and then brought into the backcountry via a horse team. Cardboard boxes won’t survive this! They need to be in buckets. The fee is $70 plus shipping. Muir Trail Ranch has a small store with a random selection of backpacking gear, but no other services for backpackers. See http://www.muirtrailranch.com/resupply-info.html for more information.
There are no resupply locations on the 105 miles south of Muir Trail Ranch. Lucky for us, an awesome team of family members of one of our group members hiked our 55 pounds of food over Kearsarge Pass and met us at Charlotte Lake for our final resupply for our last four days (Mile 180).
If you’re not this lucky, you can exit the trail at Kearsarge or at Onion Valley then take a shuttle into nearby towns for resupply.
The key is to plan your rations for each day, and stick to it. If you just throw a bag of trail mix into the resupply, it may be too much or not enough. I’ll soon be doing a post about detailed food planning in general.
Other Resupply Options
Other resupply locations that will hold your cache: Tuolumne Meadows store, Mammoth Lakes Post Office, Vermilion Valley Resort, and Mono Hot Springs.
You might be lucky and find some food you’re craving in the hiker’s buckets at these locations. And if you have too much, donate to the buckets instead of throwing it away.
Jump to: Permits | Food | Gear | Navigation | Photography

Descending out of Muir Pass towards Helen Lake. Mile 128.
Gear Packing for the John Muir Trail
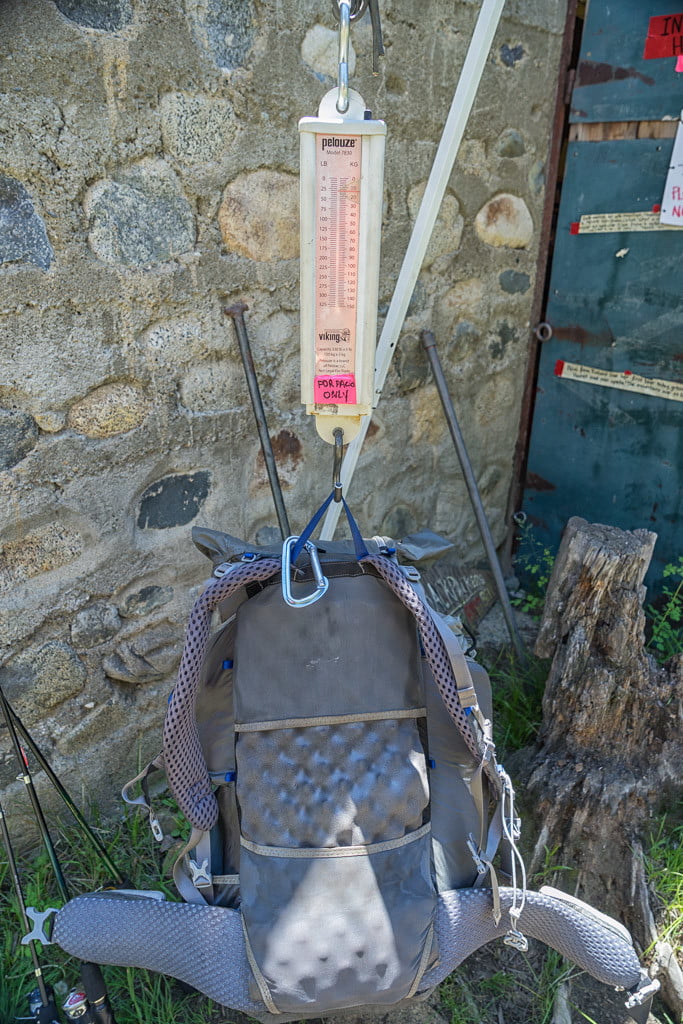
Thirty pounds exactly! With seven days of food and one liter of water.
Just like the food, I used everything I brought and didn’t wish I had anything else (for the most part). Your trip will be much more enjoyable if your pack is light.
My weigh-in at Muir Trail Ranch, with seven days of food and a liter of water, was exactly 30 pounds. It got lighter with each day and was 18 pounds right before resupply. This saved my feet, back, and joints, and ensured a smile on my face.
See my Backpacking Gear page for a list of gear that I normally take backpacking around the Sierras. My John Muir Trail gear list wasn’t too much different.
For my 19 days all I had in my pack/on me was a tent, pad, sleeping bag, stove, spork, fuel, two wool shirts, pants, puffy jacket, rain jacket, rain pants, three pairs of wool socks, two pairs of underwear, cat hole trowel, Aquamira, hat, bandana, folding knife, trekking poles, headlamp, lighter, first aid kit, toothbrush & toothpaste, and a small bottle of soap. KISS: Keep It Simple, Stupid!
I even wore the same pair of socks for 200 miles (though one got a hole in the toe at 140 miles) by rinsing them out at least twice a day when I stopped near a creek. I washed my shirts, socks, and underwear in my bear canister with soap when they needed it.
Thoughts for next time
There are a few things I’d do different:
- Everyone had an inflatable sleeping pad. The nighttime silence of the forest was interrupted by a crunching sound every time someone shifted on their pad. This doesn’t bother me when I’m alone, but I think I’ll be a courteous neighbor next time and bring my Thermarest Z Lite Sol (and hope they do the same!).
- I love my Esbit stove for its simplicity and light weight. Unfortunately, it doesn’t do too well up at 11,000′ and when starting with cold glacial water. I did learn to leave my water bottle in the sun for a few hours to preheat the water I’d be cooking with, but I still only occasionally got the water to a rolling boil up at those higher elevations. I think it might be time to jump on the Jetboil bandwagon. Something I wanted to resist as long as possible because I’m stubborn like that.
- My Aquamira drops worked great. The water was already mostly clean so I didn’t need to use the recommended dosage – I used half and never had a problem (some places I didn’t treat the water at all, and haven’t had any problems – yet). But go figure, with about four days left, one of the two required bottles leaked in my pack. I don’t know how, but I was left with an empty bottle and had to borrow a mechanical filter for the last few days from one of our teammates. A backup filter would have been a good idea, and the Sawyer Mini is a popular, effective alternative. At only 1.3 ounces it’s also half the weight of full Aquamira bottles.
- The WORST thing I did was leave my mosquito head net at home! I don’t know why it didn’t make it into my pack…but I was regretting it the second night. Fortunately I was able to buy one at Reds Meadow and it got plenty of use some nights. The mosquitos seemed to appear at random places…swarming on high & dry passes but not found at lower lakes. They are to be expected early in the season. Reports from hikers going the opposite direction were hit & miss.
Jump to: Permits | Food | Gear | Navigation | Photography

The trail coming off the south side of Forester Pass was cut out of the rock almost 100 years ago. Rare Sky Pilot and Alpine Gold flowers grow out of the cracks. Mile 188.
Navigating the John Muir Trail
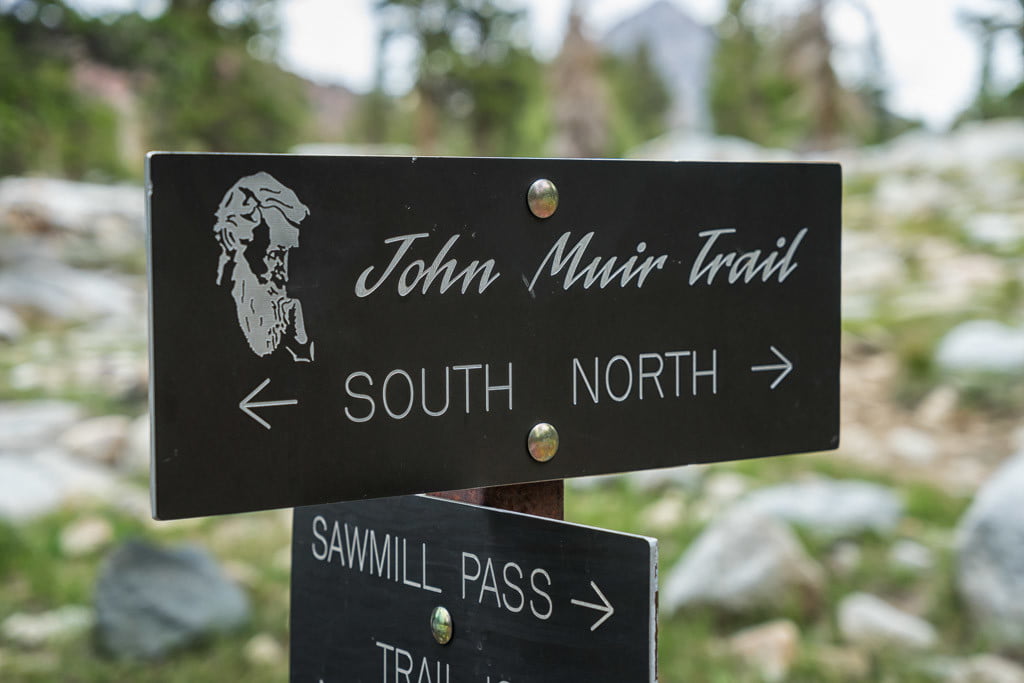
Where the John Muir Trail intersects the Sawmill Pass Trail.
The John Muir Trail is not difficult to follow. Construction on the trail began in 1915 and there are some areas through meadows that look like they have definitely been trampled down for 100 years! The trail is signed well and the only way to get lost is to miss/misinterpret a sign.
John Muir Trail Maps
Despite the signage, a John Muir Trail map is still a great idea to check mileages to the next campsite, know where side trips will take you, identify water sources, etc.
Maps are also required in seasons following heavy winters where the trail will be covered by snow in some areas and you’ll need to read the topography. Due to the preceding weak winter, I think I took a total of maybe ten steps through snow the entire length of the trail.
National Geographic makes a great pocket map, constructed of waterproof and tear-resistant paper. The maps are “strip maps” and when opened represent a roughly 8.5 mile x 8 mile section of the trail, north to south. It is annotated with mileage, campsites, other trails, resupply locations, and so on. Mine looked like hell by the end of the trip but is still usable for another round on the trail.

A great alternative to the National Geographic map is Elizabeth Wenk’s John Muir Trail: The Essential Guide to Hiking America’s Most Famous Trail. This book goes into more detail about planning and what to expect; it is also laced with interesting history, geology, and information about the flora & fauna. It makes a great companion guide so that you can learn about the trail as you’re hiking it, but it will add weight to your pack and it’s not waterproof or tear-resistant. Read it before you go or take it with you, it’s still a valuable resource.

Hiking Pace
This is not a trail you want to race through…you can, but you’ll miss the most scenic trail in America! Our John Muir Trail itinerary averaged 10-12 miles per day. This was a nice easy pace. Spread it out!
Wake up early, hike a few miles, stop for breakfast, hike a few more, stop for lunch and explore, hike some more, make it to camp, then explore some more. No need to do 20 miles per day unless you’re pressed for time.
Water Supply
Water is abundant in early summer during dry winters, and all summer long during heavy winters (when you’ll likely cross snowfields). There is no need to carry more than one liter of water except for a few areas where you may not find water for five miles, and climbing Mt. Whitney.
Jump to: Permits | Food | Gear | Navigation | Photography

Low clouds and a setting sun looking down towards the Kearsarge Pinnacles. Mile 187.
Photographing the John Muir Trail
Long story short: my Sony a6000 that I spoke so highly of had a severe electrical problem the day before my permit started. I found cell phone service and overnighted a Sony a7 from Amazon to my parents who then delivered it to one of the other group members who was due to start the next day, two days after me.
I can’t imagine photographing this trail with only a camera phone. A point-and-shoot would do just fine for the amateur photographer. You may be interested in my 5 Lightweight Backpacking Tips for Photographers post.
Data storage isn’t much of a problem with the high-capacity memory cards available these days, but electrical power will always be a problem. See my Extending Your Camera Battery on the Trail post for energy-saving tips.
Getting power
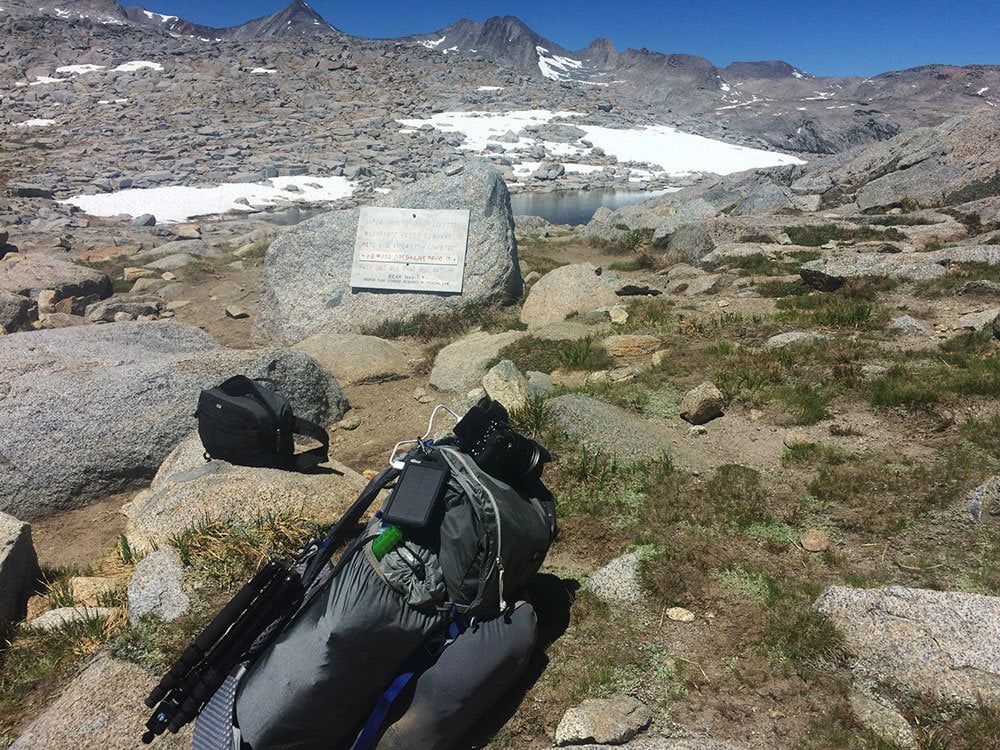
Solar charging the camera on Donahue Pass.
I carried a total of three batteries for the Sony, and started on the trail with all three charged up. These should have lasted for 6-9 days. I also had my Creative Edge Solar-5. The Solar-5 is useless except for emergencies; I wish I had carried a Goal Zero Nomad 7 plus external battery instead.
Solar chargers work only in constant direct sunlight. The first part of the trail goes in and out of wooded areas, and your charger won’t get a charge at all in these areas. This is where the Solar-5 really failed, when I burned through my camera batteries, but I couldn’t get it up to 100% due to the semi-shaded areas of the trail.
Red’s Meadow and Muir Trail Ranch have power strips where you can charge batteries, and I took full advantage of this.
The last part of the trail is mostly exposed. Constant sunlight! Nope, not for me. Remnants of a tropical storm in Mexico moved north and blocked out the sun, which is very rare for the Sierras this time of year. I really had to ration my battery usage and was only able to keep my charge between 1%-15% with the available sunlight.
Moral of the story: Don’t rely on a small solar charger.
Photography tips
Have fun photographing the John Muir Trail! Camp near lakes where you can get great sunrise & sunset shots over the mountains, where your view will be unobstructed by trees.
If you can’t camp there, make side trips or start your day early to take advantage of the morning light. Don’t be tempted to go to bed early, even when sunset is as late as 8:30, because you’ll miss a nice show.
Carry a lightweight tripod like the Sirui T-005KX. I also have a post dedicated to the best lightweight backpacking tripods.
Overcast days will be the best time for photographing the forest. Cumulus clouds make dramatic shadows on the mountains.
There’s just so much to say about it – I can’t offer that one golden piece of advice to make your John Muir Trail photography great (other than the aforementioned Don’t run out of power!).
Jump to: Permits | Food | Gear | Navigation | Photography
AloneOnTheJMT
Saturday 13th of February 2016
Great trip report and awesome photos. You brought back some awesome memories of being out there last year. Thanks!
John Peltier
Saturday 13th of February 2016
Thanks, I didn't miss anything did I? Hoping to get some even better photos on my next trip in August!