Disclosure: This post may contain affiliate links. I earn a small commission of product sales to keep this website going.
There are two critical parts of digital photography that have nothing to do with pressing the shutter button, yet they can make or break your photography experience:
- Having an efficient organization system that makes sense to you and scales as your library grows.
- Properly storing and backing up your photos so you never lose them.
If I had followed these two rules when I started 20 years ago, it would have saved me a lot of headaches and heartbreak. Like many beginners, I used to just copy photos from my camera to my laptop, assuming they were safe there…until they weren’t. I lost some photos I’ll never get back.
Here’s how to create a reliable post-capture workflow so your photos stay organized, secure, and easy to find.

1. Don’t Use SD Cards as Storage
Your memory cards are not storage devices. The “SD” doesn’t stand for “storage device”!
They’re tiny, fragile pieces of plastic meant only for temporary use. They can break, bend, or get lost easily, so use them just long enough to transfer your photos to a more permanent home.
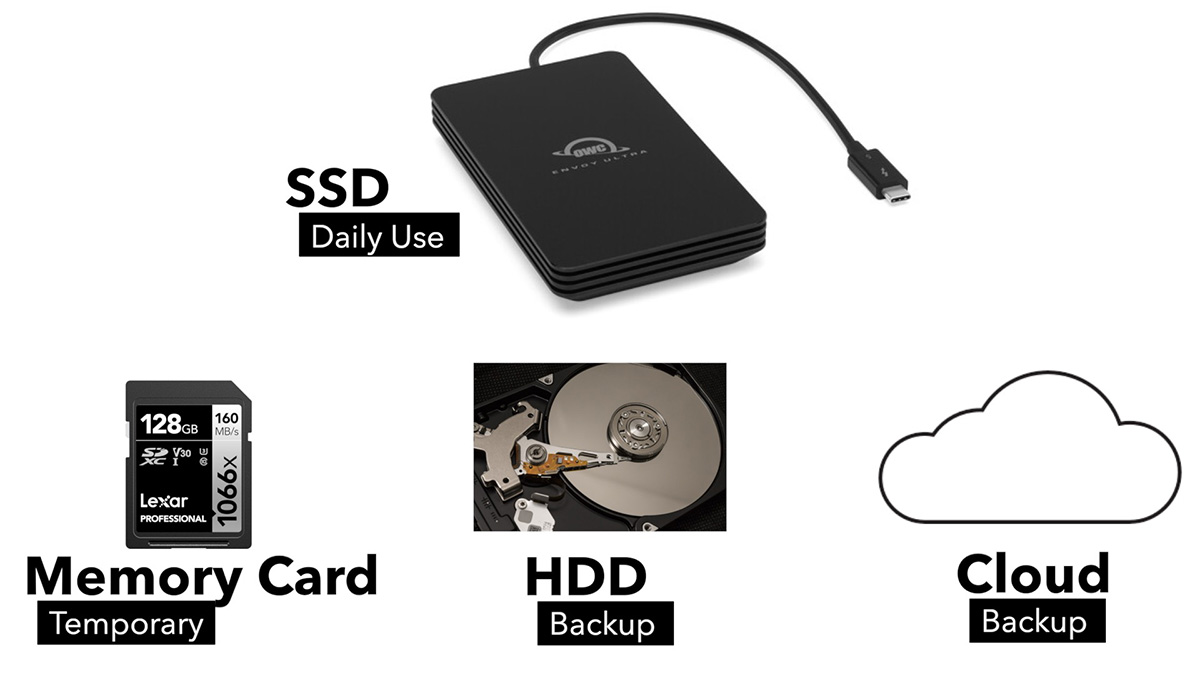
2. Choose the Right Storage Devices
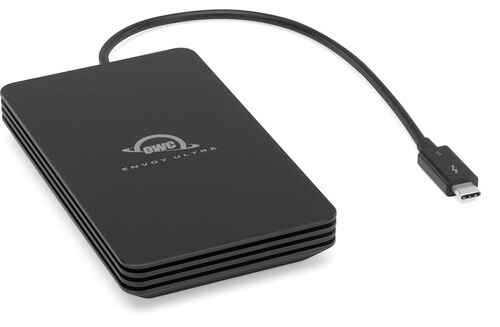
For daily use, I recommend an external SSD (solid-state drive). SSDs are fast, durable, and reliable, perfect for editing and organizing photos.
I’m currently using OWC Portable SSDs; these seem more reliable than the SanDisk Extremes I had been using (B&H affiliate link).
Mechanical HDDs (hard disk drives) are slower and more fragile, but they’re great for long-term backup because they’re much more affordable.
Instead of a more expensive HDD enclosure, I just use a simple docking station and “raw” HDDs from Seagate (B&H affiliate links).
And then there’s cloud storage. It’s not ideal for daily editing since it depends on internet access, but it’s excellent for backup redundancy. I use cloud backup myself as part of a three-tiered safety system.
To recap,
- Memory card: temporary holding
- External SSD: daily use
- HDDs + Cloud: backup & archival
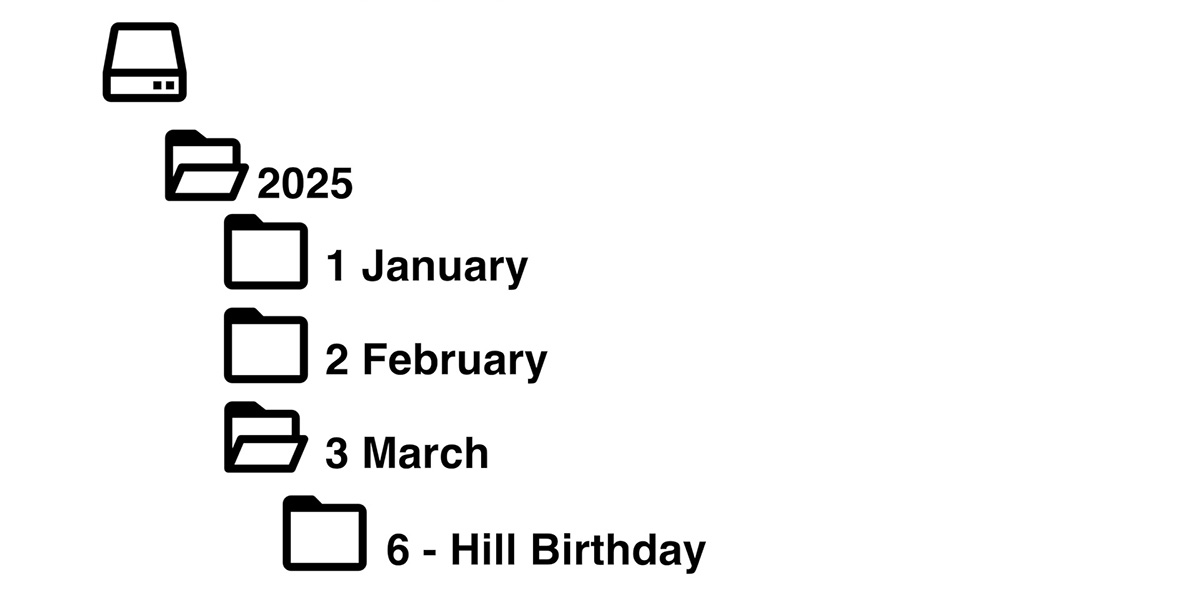
3. Create a Folder System That Makes Sense
Your folder structure should be simple, logical, and something that will make sense to you now and ten years from now.
Ask yourself:
“Is my photography based more on when, what, or where?”
If you’re an event photographer, organize by date:
Year > Month > Event Name
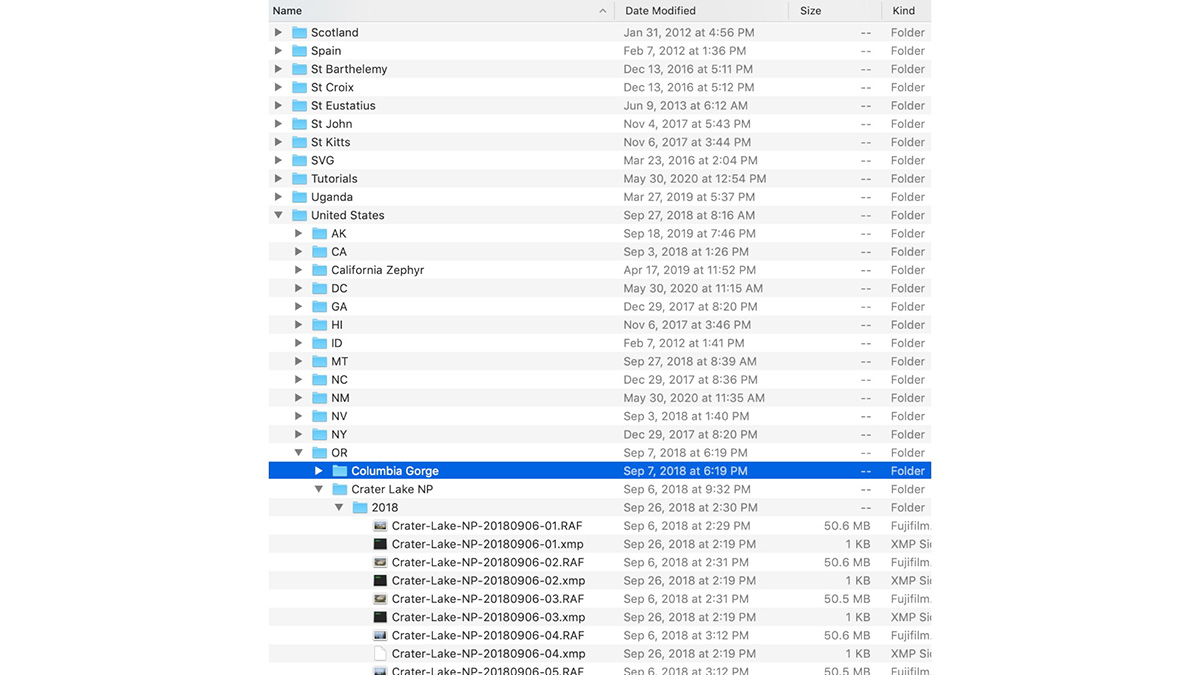
If you’re a travel/documentary photographer, organize by location:
Country > Region > City > Year
This is my case, and you can see how I have mine set up:
Once you decide what works best for you, stick with it. This kind of consistency pays off no matter what program you use – Lightroom, Capture One, Photo Mechanic – because your folders are universally readable.
4. Automate Your Imports
Don’t just drag files from your SD card into a folder. Software like Photo Mechanic, Lightroom Classic, or Capture One can automate this process, saving you hours later.
- Automatically rename files with event names, dates, or locations
- Apply metadata templates (copyright, keywords, contact info)
- Automatically create subfolders for each location or date
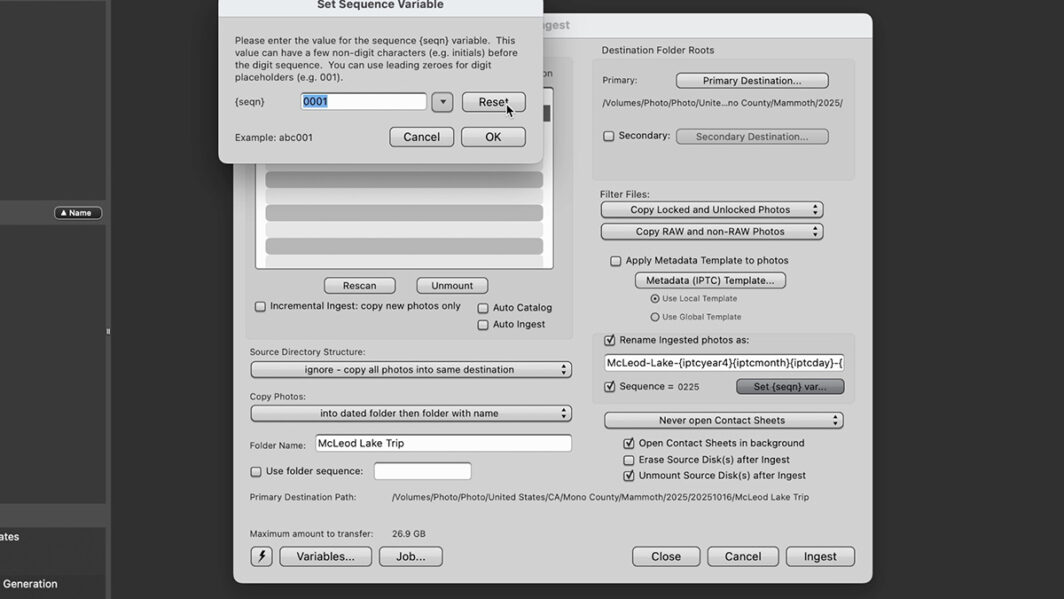
Spend a few minutes setting this up once, and it’ll save you countless hours over time.
You can read this article about importing and organizing in Photo Mechanic for more details.
5. Back Up Your Databases Too
If you’re using a program that creates a database (like Lightroom Classic or Photo Mechanic Plus), don’t forget to back that up, too. I personally keep my databases on my computer for speed, but within my Dropbox folder so they’re automatically synced to the cloud.
Recap: The First Three Steps After the Capture
- Reliable storage location: keep your photos on a trustworthy SSD or HDD, not just your computer or SD card.
- Logical folder system: one that reflects how you shoot and how you think.
- Automation tools: let software handle naming, organizing, and metadata.
Once you’ve got these down, the next step is learning how to back up your photos properly so you never risk losing them.
Take the Next Step: After the Capture Course
These three steps are just the start. They’re also the first three free preview lessons in my After the Capture course, where you’ll go deeper into topics like:
- Creating a bulletproof backup system
- Protecting your photo library from corruption or loss
- Setting up an end-to-end workflow from import to archive
Watch more free previews and save 20% with the code “blog20”.